Case Details
This patient did not have enough bone for implants after his hopeless teeth were removed.
This sequence shows a sinus lift and a common complication of a sinus lift and how it is resolved. Sinus lifts lift the membrane of the maxillary sinus in order to add bone so future dental implants will be full encased in bone! This procedure can take 7-10 months for adequate healing and turnover of bone to support dental implants! That is why it’s always better to place implants early and close to when teeth are pulled to avoid expansion of the maxillary sinus that occurs after tooth loss.
Again this is a sequence to show repair of sinus perforation during sinus lifts.
Before

After
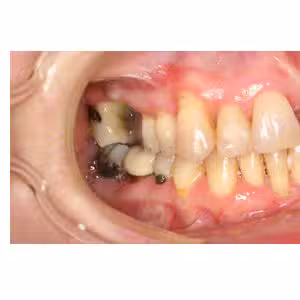
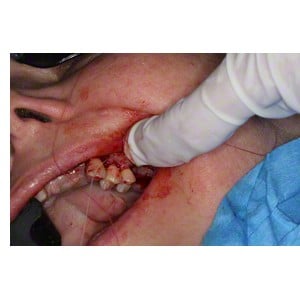
Description: pre-operative view of a patient with deficient maxillary bone requesting implants.

Before
After
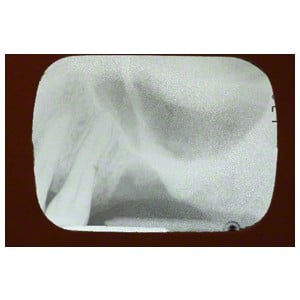
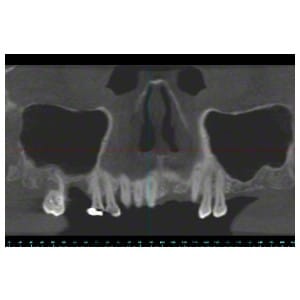
Description: Panorex x-ray showing hopeless teeth. Then the severe lack of bone after the molars were extracted.
Before

After
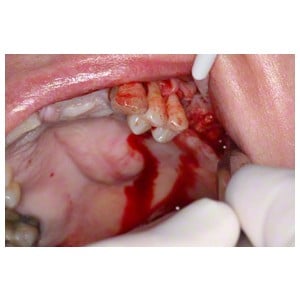
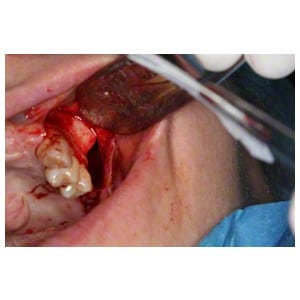
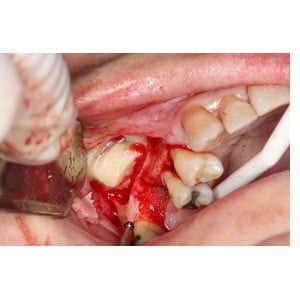
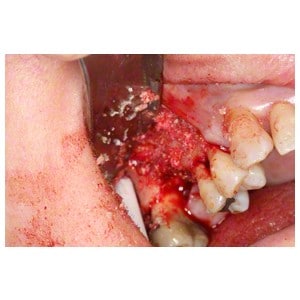
Description: The area being entered from the lateral side to create an opening or sinus window. Then the membrane being placed to protect the bone graft.
Before

After
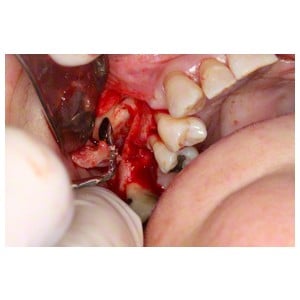
Description: The sinus opening on the left. Then the large white membrane being introduced into the sinus to help repair a perforation of the sinus membrane.
Before
After
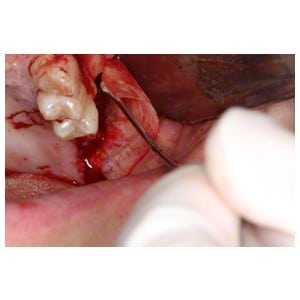
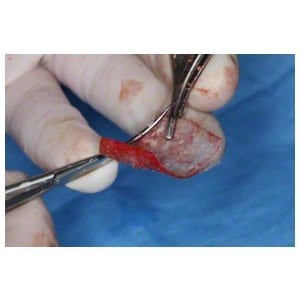
Description: The membrane is used to create a “tent” for the bone that is being added. Then bone being compacted into the envelope created by the stiff membrane.
Before
After
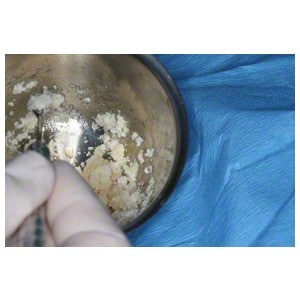
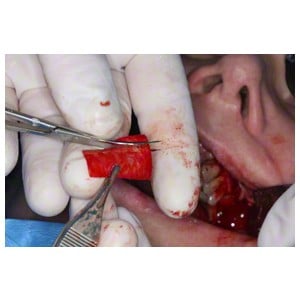
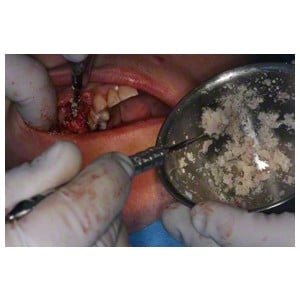
Description: Metal cup with freeze dried bone that is used to fill the sinus space and act as a space maintainer while bone grows. Then trimming the external membrane used to cover the lateral sinus window.
Before
After
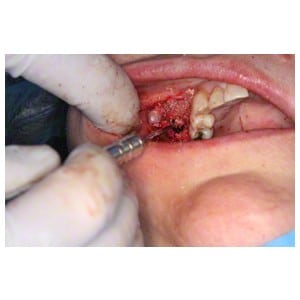
Description: The bone compacted into the right sinus opening. Then trimming the membrane to protect the sinus lining.
Before
After
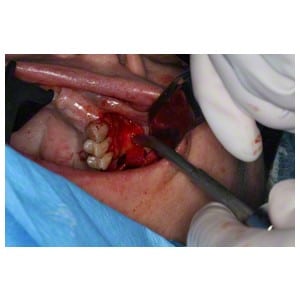
Description: The bone taken from the metal cup to introduce into the sinus. Then compaction of the bone.
Before
After
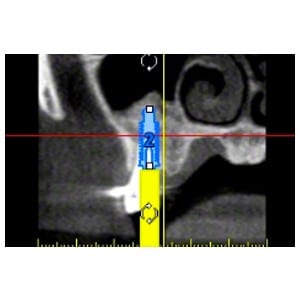
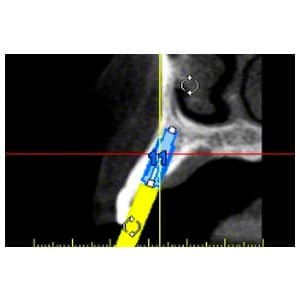
Description: Virtual implant placed on a CBCT or CAT scan to show how now there is nice bone growth in the sinus to surround the future implant! Then implant placed virtually before the real implant surgery.
Before
After
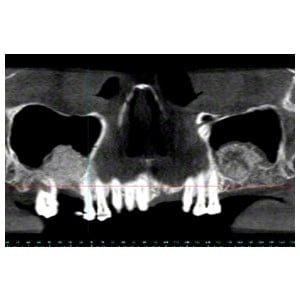
Description: The implant #11 placed at a correct angulation and location within the upper jaw bone. Then Panorex x-ray before the sinus lift. Notice the black holes that are the sinuses and how little bone exists between the sinus and the teeth. This is insufficient for implant placement.

Before
After
Description: The bone we grew with the sinus lift. Note how filled the black air spaces are now! This will be plenty of bone to support maxillary implants!.
Before
After